Premiere Pro Smart Rendering Prores Master Export Speed Guide
Quantify smart rendering benchmarks (3.2x scrubbing boost), configure Premiere Pro 25/26 and DaVinci Resolve for ProRes master exports, and QC bottlenecks.
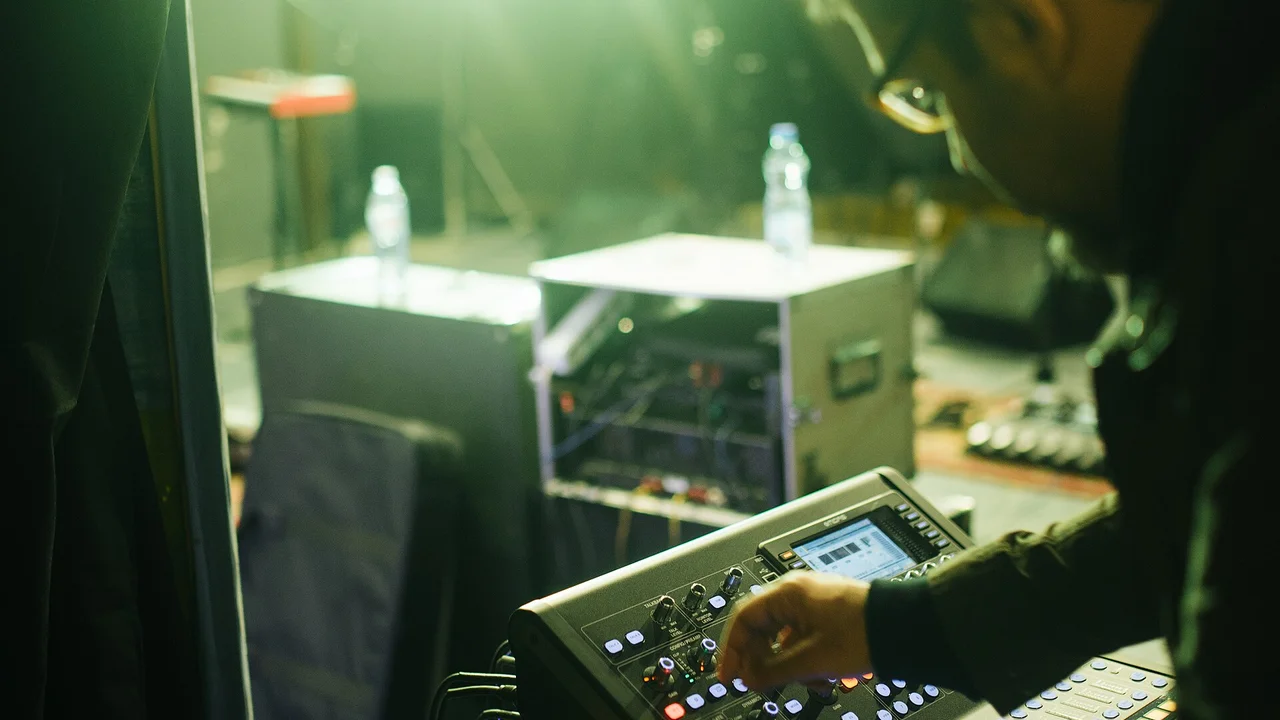
Whenever a tight delivery deadline meets a 30‑to‑60‑minute finishing window for each minute of polished output (with hourly rates running $55 to $120 [ProductionHUB & Editorial Rate Survey, 2025]), each second trimmed from the master export adds straight to billable hours. Premiere Pro’s ProRes smart rendering pipeline recovers that time by duplicating unchanged frames rather than re‑encoding the full timeline. This guide breaks apart the confirmed benchmarks, details setup procedures for Premiere Pro and DaVinci Resolve, and explains bottlenecks capable of canceling those speed gains.
What Are the Verified Benchmarks for Premiere Pro Smart Rendering ProRes Master Export Speed?#
Smart rendering relies on codec matching, so compatible source clips or sequence previews align with the ProRes variant chosen for export. With that chain intact, Premiere Pro duplicates qualifying frames and re‑renders only frames containing effects or color transforms lacking cached previews. Practical performance improvements appear long before you press Export, especially while scrubbing layered timelines assembled from Long‑GOP camera sources.
Codec Responsiveness: ProRes Proxy to ProRes 422 Pipeline#
Converting 4K H.265 material to ProRes 422 Proxy ahead of the edit boosts scrubbing responsiveness on mid‑range systems by up to 3.2x [Puget Systems Premiere Pro Codec Benchmark, 2025]. Proxy data rates stay notably light: at 1920×1080 29.97 fps ProRes 422 Proxy uses around 45 Mbps (about 20 GB per hour) compared with 147 Mbps for ProRes 422 at identical frame size and rate [Apple ProRes White Paper, 2024]. Because those I‑frames are smaller, decode overhead drops sharply and the NLE maintains fluid playback even with dense color and transform stacks.
Quantifying the Smart Render Advantage on Export#
The following table shows how a proxy‑based workflow connects to a smart‑rendered ProRes master output.
| Metric | Baseline (H.265 Long‑GOP) | ProRes Proxy Workflow | ProRes Smart Render Export |
|---|---|---|---|
| Timeline scrub responsiveness (4K multi‑cam) | 1x (reference) | Up to 3.2x faster [Puget Systems, 2025] | — |
| Media cache I/O recommendation | 2 dedicated NVMe drives to avoid waveform stalls [Adobe Premiere Pro Performance Guide, 2025] | Same | Same |
| Sequence preview data rate (1080p29.97) | Not used or I‑Frame MPEG | 45 Mbps Proxy [Apple, 2024] | 147 Mbps ProRes 422 |
| Export mode (matched ProRes variant, “Use Previews” on) | Full re‑encode, no smart render | Full re‑encode unless previews match | Copies unchanged frames at 1x speed, renders effects only |
That 1x export value in the table serves as a baseline; real copy speed varies with storage throughput and the share of frames available for reuse. A copy‑focused workflow matters even more as 93% of marketing teams currently report positive ROI from video, compared with 87% five years earlier [Wyzowl Video Marketing Report, 2026].
Step‑by‑Step Premiere Pro and DaVinci Resolve Setup for Smart Rendering ProRes Master Export#
The smart render chain requires preview or source frames compatible with the deliverable to match, so setup must follow a specific order. The steps below separate Premiere Pro 25/26 from DaVinci Resolve 19/20 for finishing editors moving between both applications.
Premiere Pro 25/26 – ProRes Proxy to Master#
- Create or attach ProRes proxies. In the Project panel, highlight the camera originals, right‑click, then select Proxy > Create Proxies. Inside the Create Proxies dialog, pick a QuickTime ProRes proxy preset with a frame size suited to offline work. Confirm the choice and allow Media Encoder to transcode the files. After transcoding finishes, enable Toggle Proxies in the Program Monitor to play back through the attached proxies.
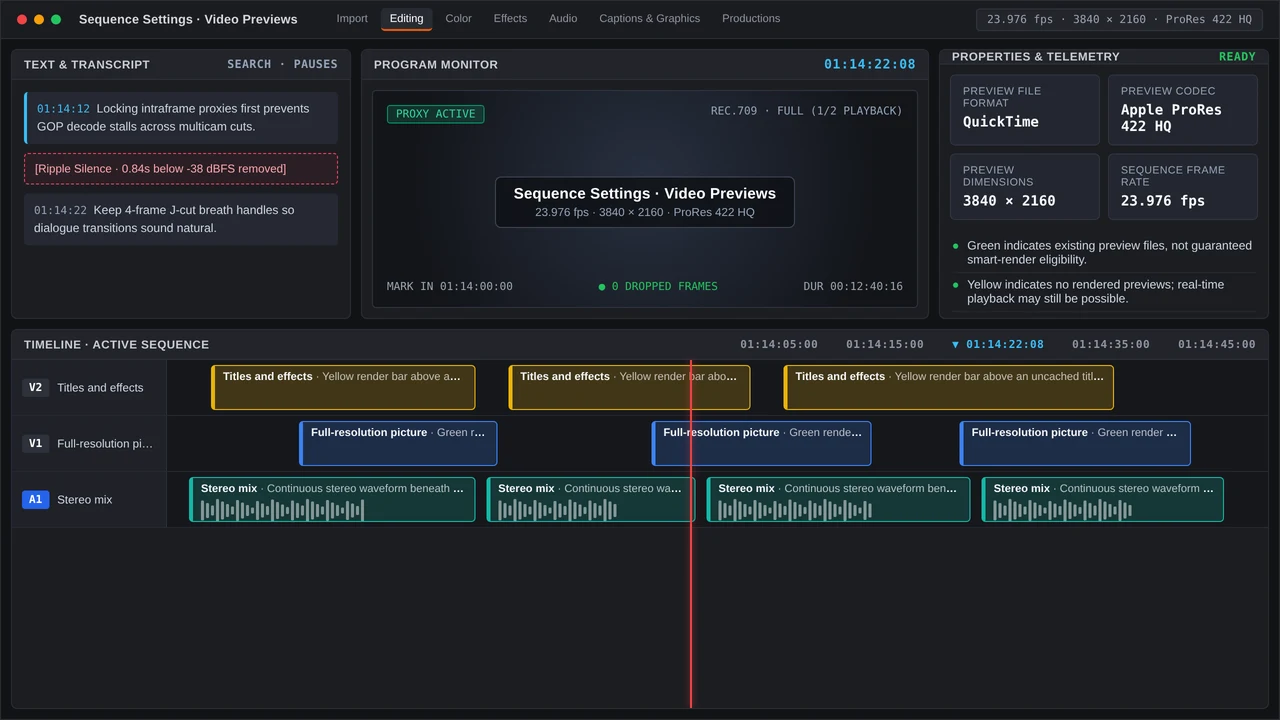
- Align the sequence preview codec with the intended export. Navigate to Sequence > Sequence Settings… and locate the Video Previews section. For Preview File Format select QuickTime, and for Codec pick the precise ProRes variant planned for delivery (ProRes 422, 422 HQ, or 4444). Ensure frame size and pixel aspect also correspond to the export specs, then click OK.
- Turn on hardware‑accelerated decoding. On Windows go to Edit > Preferences > Media, or on macOS to Premiere Pro > Settings > Media, activate H.264/HEVC hardware‑accelerated decoding if offered, then relaunch Premiere Pro. Whether 10‑bit H.265 sources are supported will vary by decoder generation and chroma subsampling.
- Render only effects‑laden sections. Process portions containing effects such as Warp Stabilizer and noise reduction, or color transforms intended for preview storage. Choose Sequence > Render In to Out to save the selected span as ProRes previews. There is no need to render whole tracks; smart rendering will duplicate untouched, eligible ProRes source frames on its own.
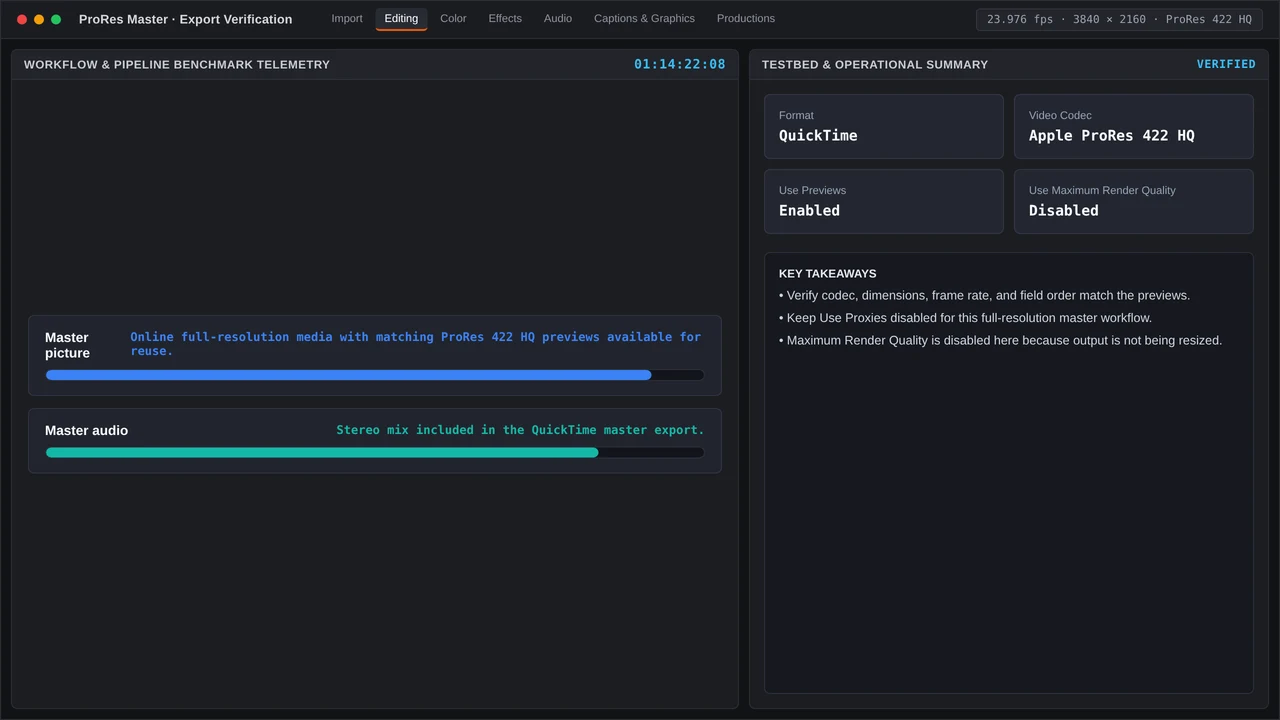
- Export using Use Previews. Under File > Export > Media…, set Format to QuickTime, set Codec to the identical ProRes variant used for previews, and enable Use Previews. Keep Use Maximum Render Quality disabled unless the delivery calls for improved scaling quality. Matching previews and qualifying ProRes source frames will be reused during export, with only the leftover sections rendered anew.
DaVinci Resolve 19/20 – ProRes Conform Pass#
When Resolve acts as the finishing hub, Bypass re‑encode when possible allows compatible source frames to be reused. On the Deliver page, pick QuickTime and Apple ProRes 422 (or the relevant finish variant) wherever ProRes encoding is offered for your platform and edition. Reveal the Advanced Settings panel, turn on Bypass re‑encode when possible, and if color or Fusion comps are already cached, also enable Use render cached images. Grades, effects, and incompatible cache formats will still need rendering, while qualifying source frames move through untouched.
Common Timeline Bottlenecks and QC Checks When Handling ProRes Smart Rendering#
A single incorrect setting can interrupt the codec‑copy path even when everything else aligns. The list below covers the tripwires encountered most often in online finishing bays.
Bottlenecks That Force Full Re‑Roenders#
- Mismatched preview codec. Leaving Sequence Settings > Video Previews set to the default I‑Frame MPEG prevents those previews from being copied to a ProRes master. Other eligible ProRes source frames remain copyable, and remaining areas will need rendering.
- Use Maximum Render Quality turned on. That option asks for higher‑quality scaling and may lengthen processing for frames that require resizing. Keep it active only when improved scaling justifies added time; it will not block smart rendering across the board.
- Dynamic Link compositions. Embedded After Effects comps count as non‑ProRes media on the timeline. They must be rendered unless reusable previews exist. For faster exports, pre‑render those comps on their own and place the resulting ProRes 4444 files on the timeline.
- Multi‑cam sequences using mixed codecs. Any H.264 camera angles added to a ProRes master must be decoded and re‑encoded. Creating matching full‑resolution ProRes transcodes can qualify those segments for copying, while attached ProRes Proxy files remain useful for offline playback.
- System memory shortage. Workstation testing points to 64 GB of RAM as the baseline for 4K, increasing to 128 GB for 6K/8K multi‑cam and Dynamic Link workflows [Puget Systems Hardware Recommendations, 2025]. If the system resorts to swap, timeline rendering and exporting become unstable and slow.
Pre‑Export QC Checklist#
- Open Sequence Settings > Video Previews and confirm the codec label (for example, “ProRes 422 HQ”) lines up with the planned export.
- Inside the Export Settings dialog, ensure Format > QuickTime and the chosen Codec match the preview codec exactly.
- Verify that Use Previews is enabled and that scaling options are appropriate for the deliverable.
- Scrub from start to finish of the timeline; yellow bars mark areas lacking rendered previews where Premiere attempts real‑time playback. Apply Sequence > Render In to Out to cache any ranges you want prepared ahead of export.
- Run a brief test export of a 60‑second effects‑heavy portion. Record how long it takes, then export again after rendering matching previews to see if reuse occurs.
- Store media cache and peak files on a dedicated PCIe Gen4 NVMe drive to avoid I/O bottlenecks that would hinder even smart renders [Adobe Premiere Pro Performance Guide, 2025].
Once export completes, re‑import the master to verify duration, opening and closing frames, audio channel arrangement, and timecode against the original sequence.
More in PrPro Lab

Premiere Pro 2026 ProRes 422 Proxy vs. 10-Bit 4:2:2 HEVC Scrubbing & NVMe Scratch Tuning
Benchmark how ProRes 422 Proxy scrubs up to 3.2x faster than long-GOP 10-bit HEVC in Premiere Pro 2026, with dual NVMe scratch partitioning and multi-cam 1080p proxy storage math.

Properties panel is instant text/effect tweaking; Graphics Templates panel accelerates MOGRT browsing. 3.2x ProRes Proxy scrubbing gains and 64 GB RAM benchmarks explained.